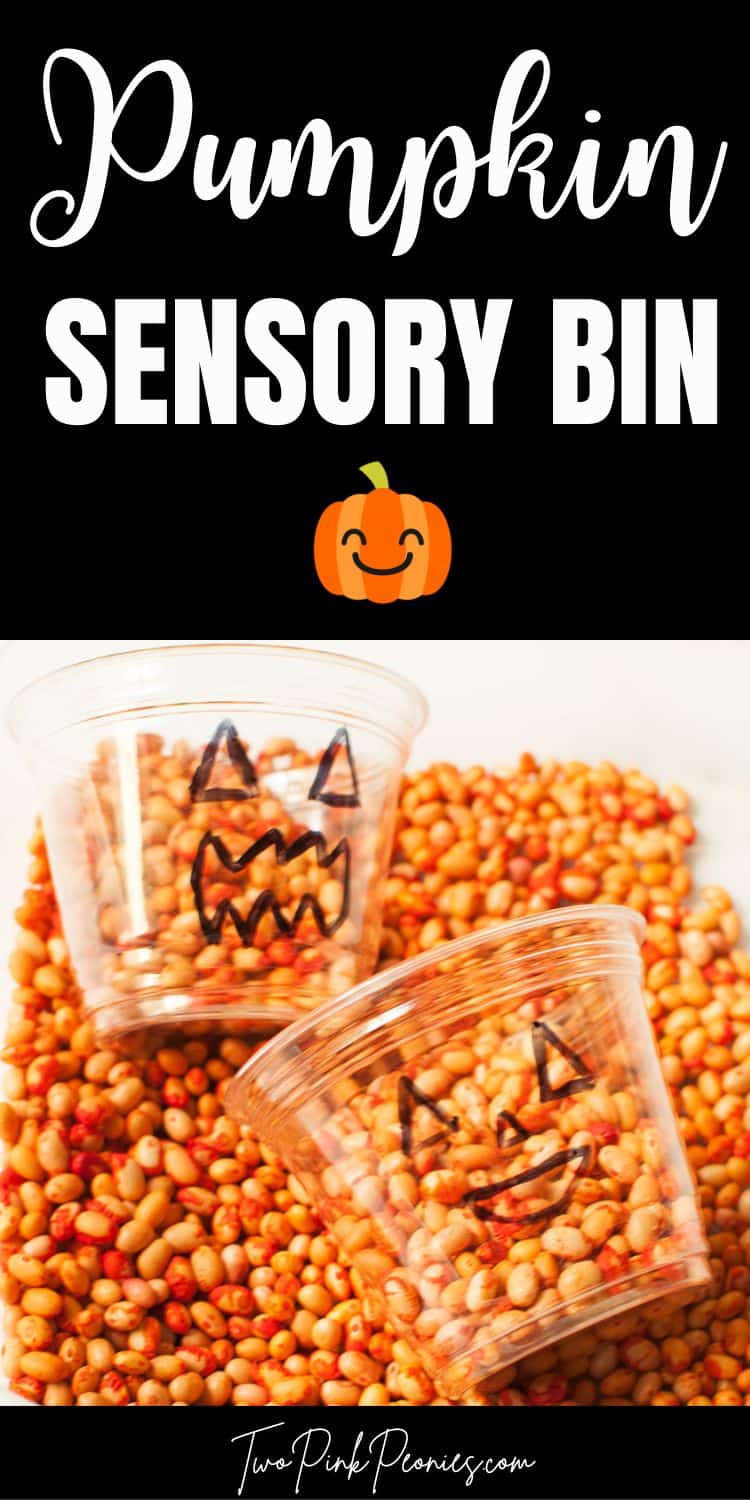
This Pumpkin Sensory Bin is a fun activity for a pumpkin or Halloween theme. It is also a great way for toddlers and preschoolers to work on their fine motor skills. This sensory bin is so easy to put together and you can also switch the filler to any other your prefer!
Disclaimer: Please note that this post contains affiliate links. I may earn a small commission if you make a purchase or sign up for a service at no extra cost to you.
I am a huge fan of making sensory bins for my kids. They are a fun way to do different themed activities, celebrate changes in season or holidays, learn, work on fine motor skills, and use imaginative play skills.

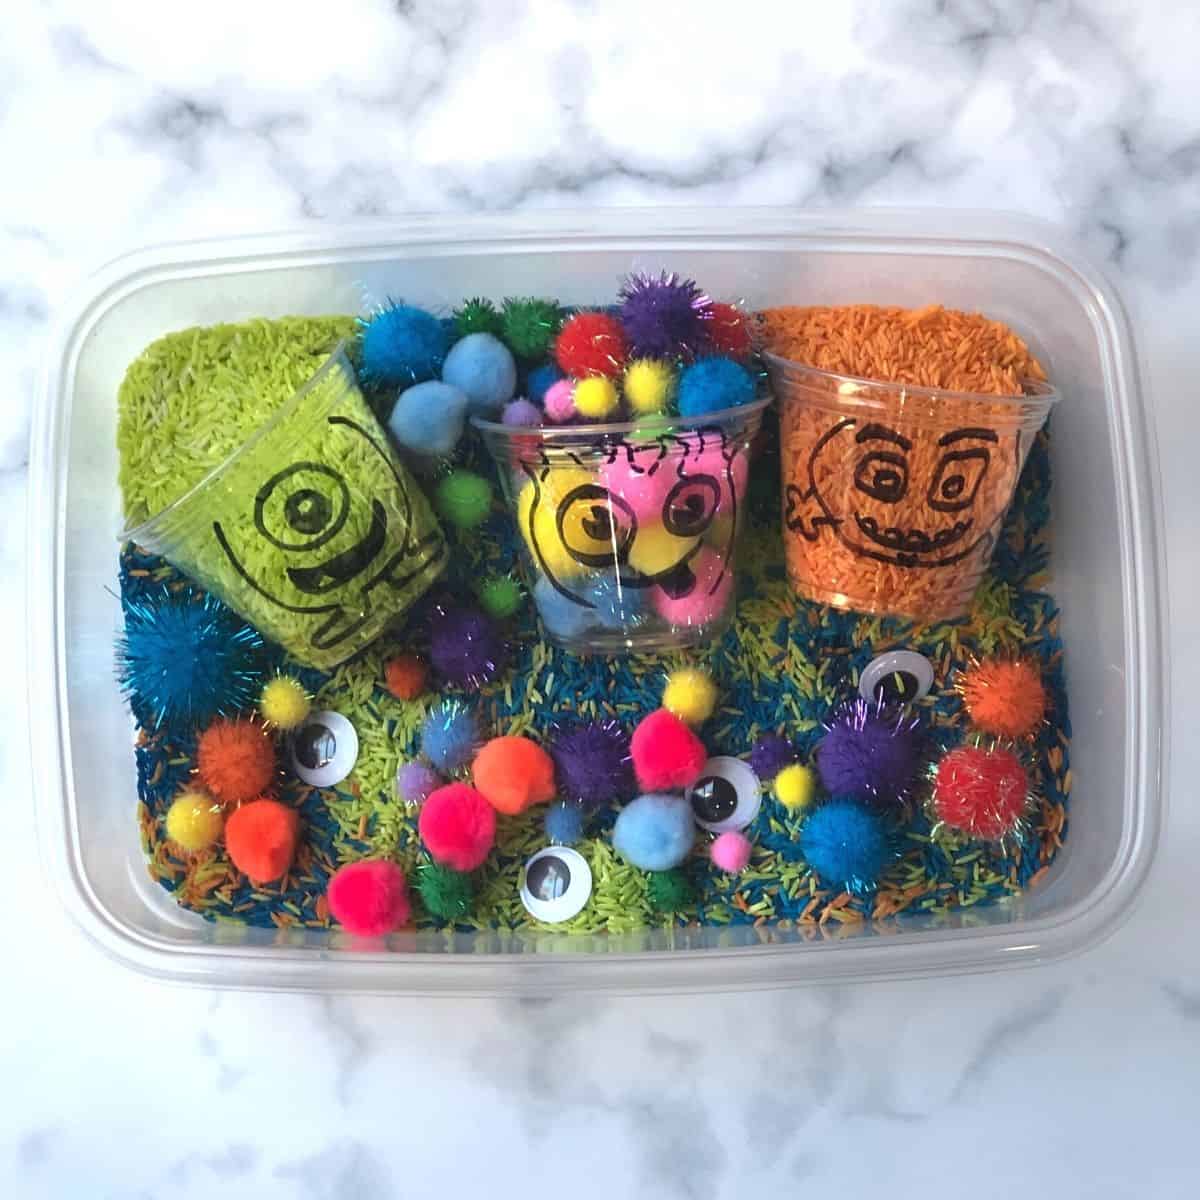
If you need even more Halloween themed sensory bins this Rainbow Spaghetti dyed orange and black is a fun idea for Halloween. My kids also really loved this Monster Sensory Bin.
Jump to:
🧡 A note about sensory bins
Please note that sensory bins should always be supervised by adults since they contain small parts that could be a choking hazard.
📝 The benefits of sensory play
Sensory bins are a great way for toddlers and preschoolers to work on their fine motor skills, use their imaginations, and explore different textures and colors. They are budget friendly and easy to make too.
🎃 Supplies needed

For this sensory bin, you will need:
- Small white beans: I used navy beans but you can use so many different fillers for this bin. You could use orange crinkle paper, colored rice, dyed pasta, pom poms, oats, or sand. If using beans do not use kidney beans as dried kidney beans are toxic.
- Orange food coloring
- Vinegar
- Plastic storage bag: Such as Ziplock
- Wax paper or parchment paper: To dry the beans on.
- Clear cups
- Permanent marker: For adults only. To draw the faces on the cups.
- Scoops and toys
❔ What kind of sensory bin to use
I prefer to use an extra large Tupperware container but you can also use a sensory table or large tray with a lid.
🖤 How to set up

Printable instructions are below.
Draw some fun pumpkin faces on your clear cups (image 1).
Measure out how many cups of beans (not kidney or white kidney beans) you’d like to use. Note that you can use other sensory bin filler, if desired (such as orange crinkle paper, rice, pasta, pom poms, etc).
In a large Ziplock bag, add one tablespoon of white vinegar per one cup of dried beans. Add the orange food coloring a little at a time until you get the desired color (image 2).
Seal and shake the bag well (image 3). Let sit for about five minutes before transferring to a wax or parchment paper lined baking sheet or container (image 4).
Let dry for several hours (I usually let mine dry overnight). You can test the beans’ dryness with a paper towel before adding to your sensory bin. If you live in a humid area, you may need to add additional dry time.
Add scoops, cups, and toys. Let your child enjoy!
⭐ FAQ
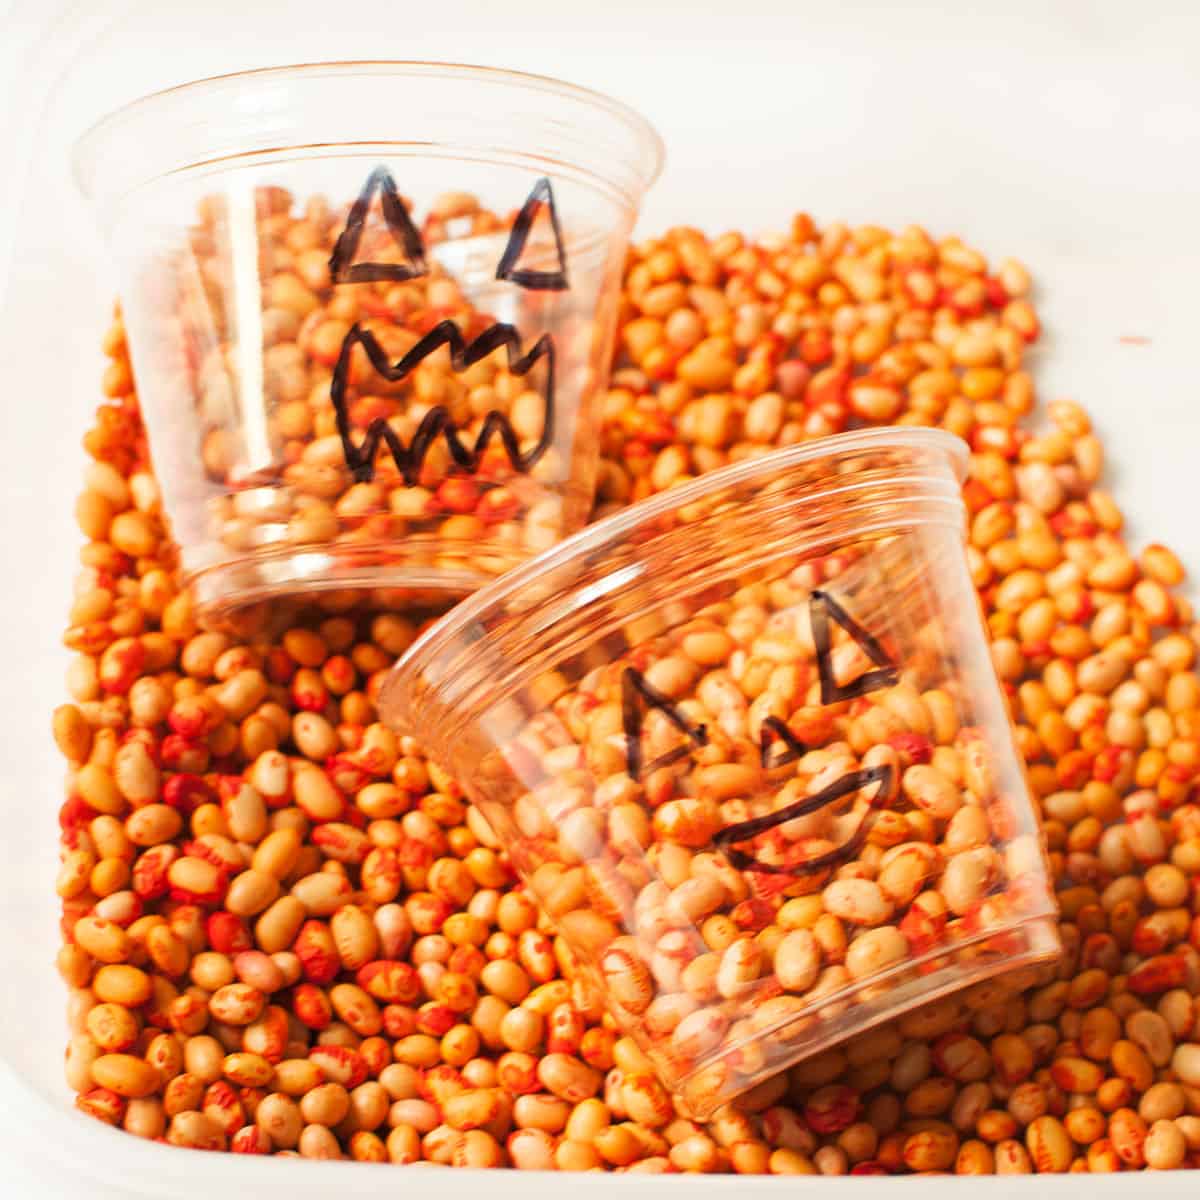
You can add a filler like dyed dried beans or orange crinkle paper. Add plastic cups with Jack O’ Lantern faces with scoops and toys.
I prefer an extra large Tupperware container with a lid. This way you can easily store your sensory bin in a cabinet. It also makes it easier to rotate sensory bins.
There are so many inexpensive fillers for sensory bins. You can use water, sand, dried pasta, rice, or crinkle paper.
Other fun Halloween ideas
If you tried this Pumpkin Sensory Bin or any other activity or recipe on my site, please let me know how it goes in the 📝 comments below. I would love to hear from you!

Pumpkin Sensory Bin
Equipment
- sensory bin I used an extra large food storage container
Materials
- small white beans not kidney
- orange food coloring
- white vinegar
- permanent marker for adults only
- clear cups
- large plastic storage bag such as Ziplock
- wax or parchment paper
- scoops and toys
Instructions
- Draw some fun pumpkin faces on your clear cups.clear cups, permanent marker
- Measure out how many cups of beans (not kidney or white kidney beans) you'd like to use. Note that you can use other sensory bin filler, if desired (such as orange crinkle paper, rice, pasta, pom poms, etc).small white beans
- In a large Ziplock bag, add one tablespoon of white vinegar per one cup of dried beans. Add the orange food coloring a little at a time until you get the desired colororange food coloring, white vinegar, large plastic storage bag
- Seal and shake the bag well. Let sit for about five minutes before transferring to a wax or parchment paper lined baking sheet or container.wax or parchment paper
- Let dry for several hours (I usually let mine dry overnight). You can test the beans' dryness with a paper towel before adding to your sensory bin. If you live in a humid area, you may need to add additional dry time.
- Add scoops, cups, and toys. Let your child enjoy!scoops and toys



Leave a Reply