Make your own fun shapes, letters, or numbers by melting crayons in the oven! This step by step guide will help you repurpose your old or broken crayons.

Affiliate disclaimer: Please note that this post contains affiliate links. I may earn a small commission if you make a purchase or sign up for a service at no extra cost to you.
Have you ever wondered how to make make new crayons out of old crayons? It’s actually super easy to make crayons in silicone molds. If you have some old crayons laying around this small DIY project is perfect for you.
Jump to:
🖍️ Why you’ll love these crayons
These crayons are a great way to repurpose broken or old crayons. I always save crayons from restaurants to melt down. This is a great project for Earth Day too since it re-uses items that would otherwise be thrown away.
You can make so many fun crayons for friends and family during holidays too. These are also awesome for classroom party favors.
📋 Supplies needed
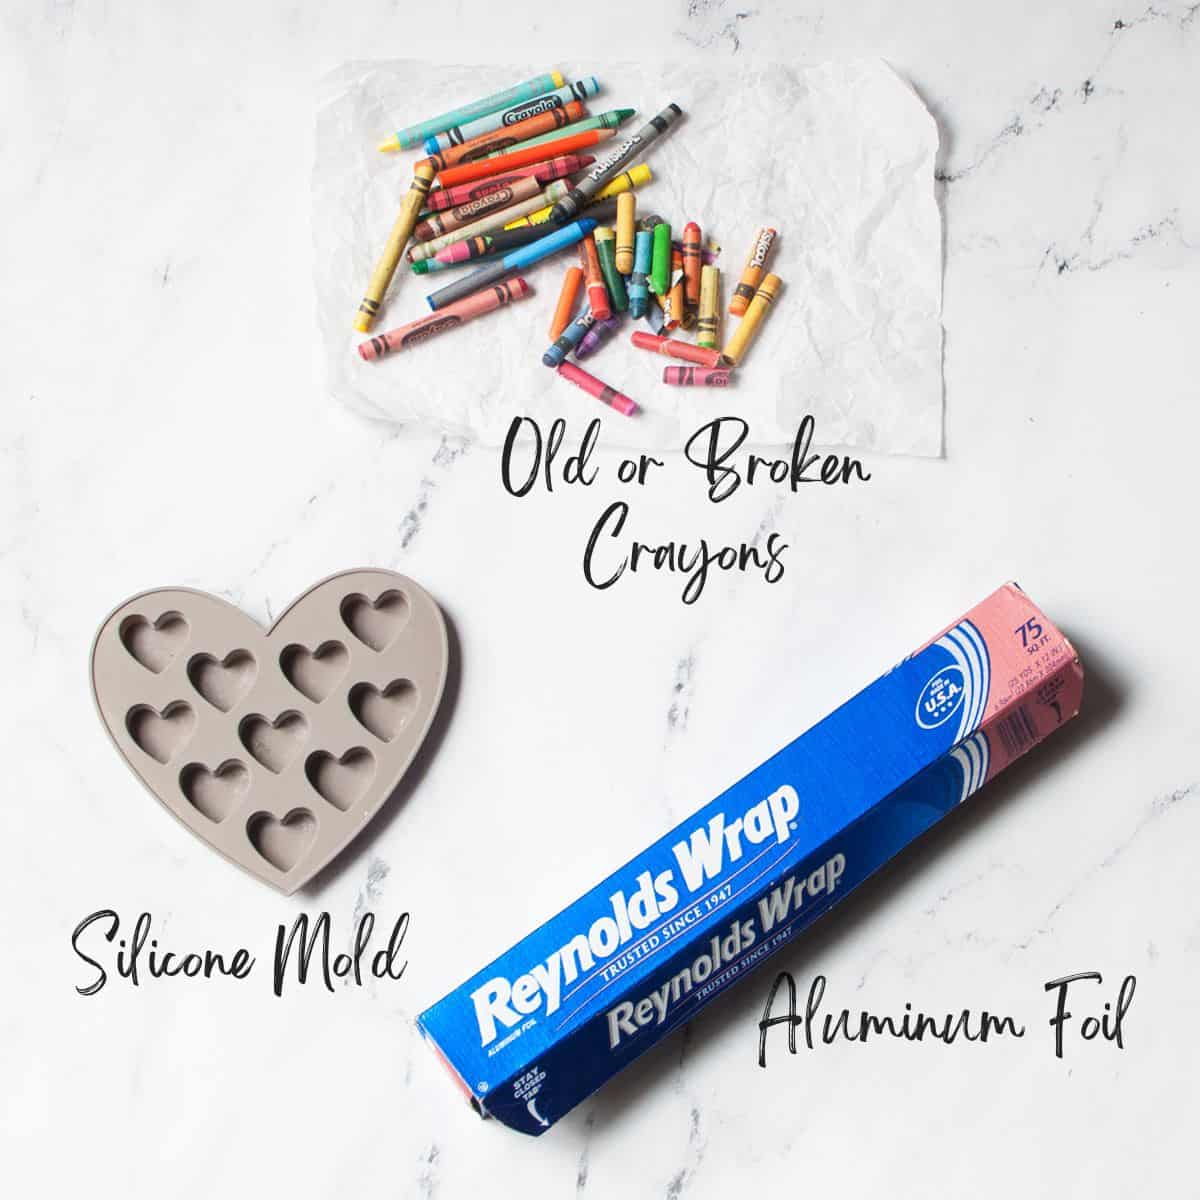
- Broken crayons: I’ve heard that Crayola brand crayons work best when remaking crayons, but I used a variety of whatever was in the bottom of our arts and crafts supply bucket with no problem.
- Silicone mold of your choice: I used a heart shaped one.
- Aluminum foil: Or you can also use parchment paper (not wax paper). This will keep your baking sheet clean.
- Baking sheet: To keep the mold even and avoids spills when pulling it out of the oven.
⏲️ How to melt the crayons in silicone molds
Printable instructions are below.

Begin by soaking your crayons in a bowl of water (image 1). This will make it easy to peel the wrappers off. You can also use an exacto knife or razor (adults only). I had my kids help so soaking and not using anything sharp was easier for us.
Dry your crayons off on a towel (image 2). Make sure there’s no excess water on them. Break your crayons and place them in the mold. Cover a baking sheet with aluminum foil and place your silicone mold on it. (image 3).
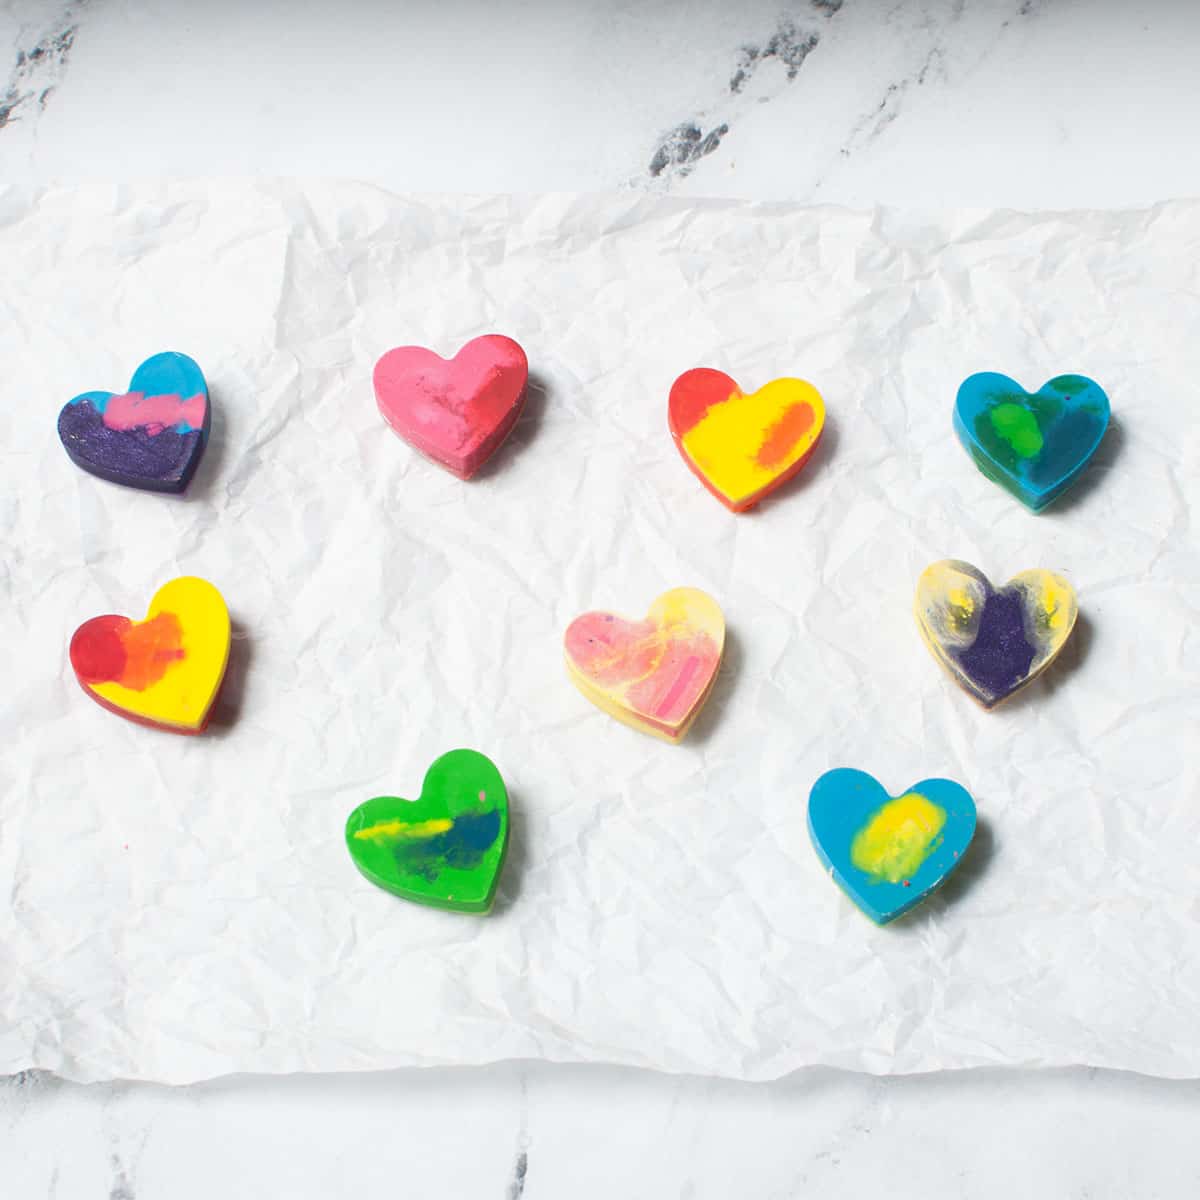
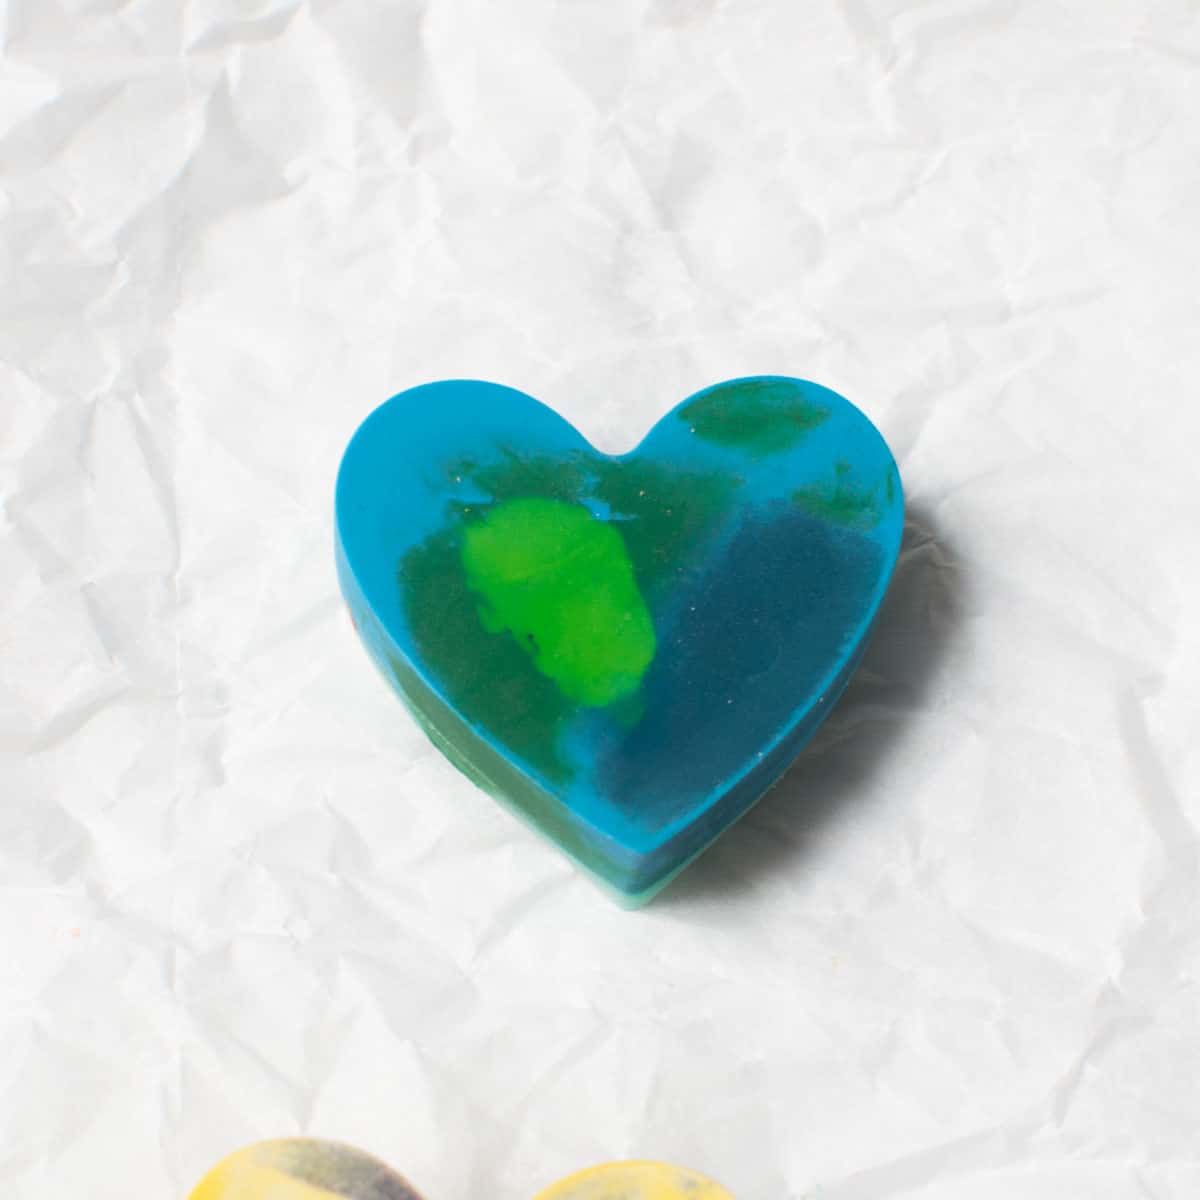
I used similar colors in each individual mold for my crayons but you can use whatever colors you want. Mixing colors is a fun option. I did try to avoid using black and white crayons with other colors.
Bake your crayon pieces at 350 degrees for 8 to 10 minutes. You’ll want to check and make sure they are melted completely since your oven or mold might require more or less time.
Next, let them cool for 1 to 2 hours and then carefully remove them.
⭐ What mold to use
I used a silicone heart mold from Amazon.

If you have other fun molds, go for it. Alphabet crayons are a super popular party favor these days. I’ve also seen some cute emoji face ones too. There are all kinds of fun ones available on Amazon.

📖 Tips
- Line your baking sheet with parchment paper (not wax) or aluminum foil to prevent any spillage.
- Wait until the crayons are fully cooled to remove them or they will break.
- White and black are not good colors to use in molds. They don’t mix very well.
💬 Variations
- Use holiday colors like green and blue for Earth day, black and orange for Halloween, red and green for Christmas, or pink and red for Valentine’s Day.
- Glitter crayons are also super fun for this project.
💭 Project FAQs

Yes, it is totally safe to melt crayons in the oven. I recommend only using your mold for crayons after though. I always cover my baking sheet in aluminum foil or parchment paper to prevent spillage.
The best way to melt crayons is in an oven in an silicone mold. Be sure to put down some parchment paper (not wax) or aluminum foil to prevent messes.
You can melt them at 350 degrees.
Darker colors (like black, brown, navy) will melt faster than lighter colors.
Other fun ideas:

If you tried this Melting Crayons in the Oven Project or any other activity or recipe on my site, please let me know how it goes in the 📝 comments below. I would love to hear from you!

Melting Crayons in the Oven
Equipment
- 1 silicone crayon mold
- Aluminum foil
- Baking sheet
Materials
- 1 batch broken crayons
Instructions
- Begin by soaking your crayons in a bowl of water. This will make it easy to peel the wrappers off. You can also use an exacto knife or razor (adults only). I had my kids help so soaking and not using anything sharp was easier for us. I soaked mine for about ten minutes.
- Dry your crayons off on a towel. Make sure there's no excess water on them. Break your crayons and place them in the mold. Cover a baking sheet with aluminum foil and place your silicone mold on it.
- Bake your crayon pieces at 350 degrees for 8 to 10 minutes. You'll want to check and make sure they are melted completely since your oven or mold might require more or less time.
- Next, let them cool for 1 to 2 hours and then carefully remove them.
Notes
- I used similar colors in each individual mold for my crayons but you can use whatever colors you want. Mixing colors is a fun option. I did try to avoid using black and white crayons with other colors.
- Wait until the crayons are fully cooled to remove them or they will break.
Lindsey | Greenmamalife says
I love this! So helpful, especially since I have a toddler who likes to break crayons for fun lol
Grace says
Thanks for a lovely blog post. It reminds me of the fun activities I used to with the kids when they were very little.
Sandra Tanner says
Great project for the kids! And a great way to use what you already have to make something new!
Amy Gougler says
This is so funny and really quite simple. I’ve been thinking about doing it with a star shaped silicone mold that I happen to have at home!
Jennifer says
This sounds fun! I saw a kids youtube video about this, and I’ve been meaning to try it. Thanks for the reminder!