
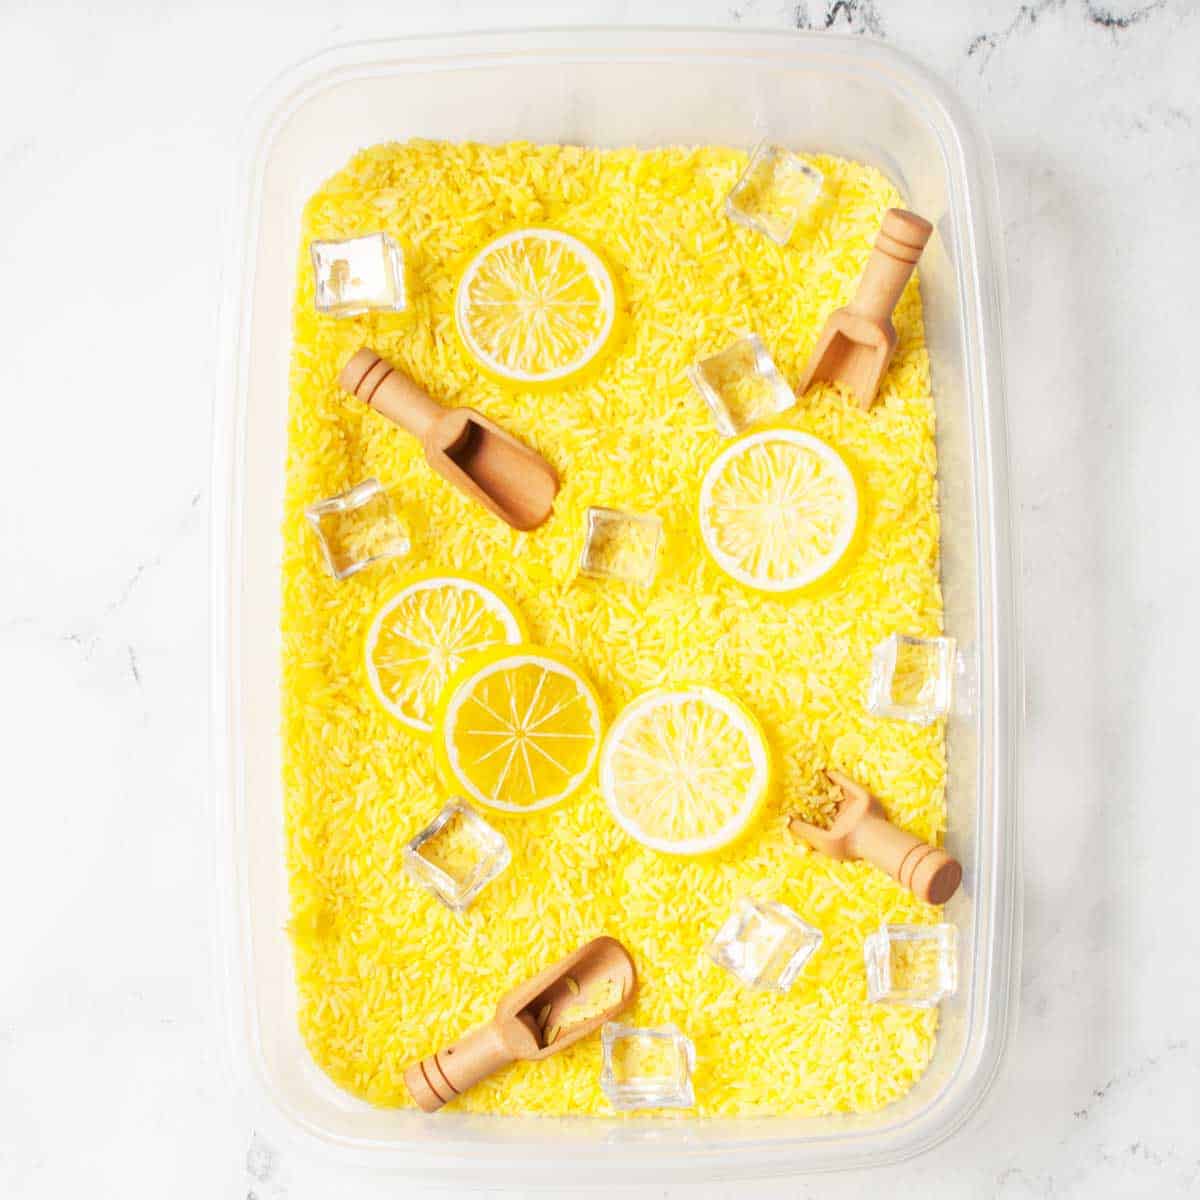
This lemonade sensory bin is such a fun sensory activity for summer. Kids will have a blast scooping, exploring, and using their imagination.

Disclaimer: Please note that this post contains affiliate links. I may earn a small commission if you make a purchase or sign up for a service.
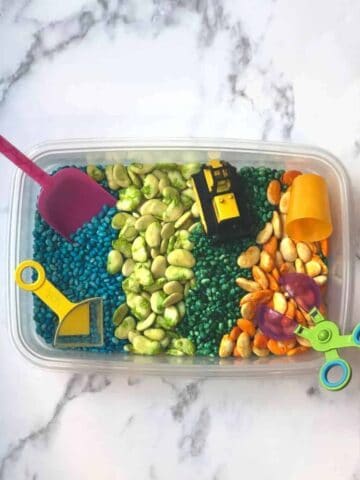
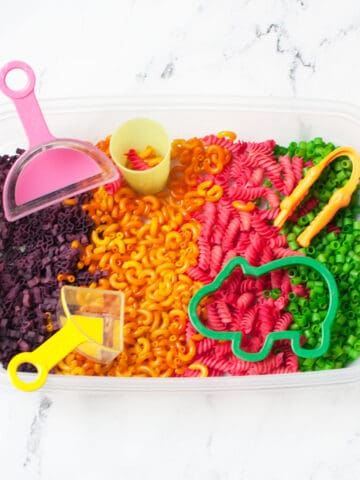
My kids love playing with their rainbow rice sensory bin, pasta sensory bin, and snow dough sensory bin. I love making new creative sensory bins for them, especially now that summer is here and our days aren’t as structured.

This lemonade sensory bin is so much fun. There are optional printable drink order cards to print and put with the bin. These are fun to laminate and add to the sensory bin.

Jump to:
- 📋 A Note about this activity
- 💛 Why you’ll love this sensory bin
- 🍋 Supplies needed
- 🍋 What kind of container to use for sensory bins
- 🍋 How to make the sensory bin (step by step guide)
- 🍋 Tips
- 💭 How to contain the mess
- 🖨️ How to download and print the lemonade order cards
- 📋 Sensory Bin FAQs
- 💡 Other fun sensory bin ideas
- Lemonade Sensory Bin
📋 A Note about this activity
Adult supervision is required. This sensory bin is not taste safe and should not be given to children who mouth things as the small items and uncooked rice could be a choking hazard.
💛 Why you’ll love this sensory bin
This DIY sensory bin is so easy to make. Sensory bins are great for teaching practical skills, play skills, fine motor skills, and for helping children use their imagination.
🍋 Supplies needed

For this lemonade sensory bin, you will need:
- Rice: You will need dry, uncooked rice.
- Rubbing alcohol: This is needed to help dye the rice.
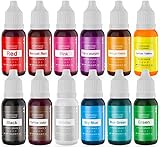
- Yellow food coloring: I used yellow from this set of rainbow food coloring.
- Scoops, plastic cups, toy lemon slices, and ice cubes: The toys for the sensory bin.
- Printable lemonade order cards: These are optional but so much fun. You can grab the download below.


🍋 What kind of container to use for sensory bins
I use an extra large food storage container. You could also use a sensory table or tuff tray for sensory bins as well.


🍋 How to make the sensory bin (step by step guide)

Printable instructions are below.
To dye the rice yellow, you will need to measure out 4 to 5 cups of rice (image 1). I used a large plastic food storage bag but a big bowl that you don’t care about staining also works.
Next, add one tablespoon of rubbing alcohol per cup of rice (I used 5 cups of rice and 5 tablespoons of alcohol). Add the food coloring, I used about 8 drops (image 2) and seal the bag. Mix well (image 3). I recommend starting with less and then adding more if needed. Too much yellow can end up looking orange.
Spread out to dry(image 4). I used an extra large tupperware container that I lined with wax paper.
Let the mixture dry for about four hours then it will be good to play with. I usually make mine the night before so it has plenty of time to dry. You can test that it’s dry and ready with a paper towel. Once it is dry, it will not stain hands.
Add scoops, plastic cups, toy lemon slices, and toy ice cubes.
🍋 Tips
- Add a little yellow food coloring at first. If you add too much it can end up looking orange. You can always add more, if needed.
- You can also dye pasta instead of rice, if desired.
💭 How to contain the mess
I usually bring our sensory bin to our porch and then use a big broom to sweep up any mess. You could also put an old sheet or table cloth down under the bin to help contain the mess.
🖨️ How to download and print the lemonade order cards
To download and print these lemonade order cards simply click the black download button below (it will open in a new tab).
This printable is free for personal use or single classroom use only, no commercial reproduction of any kind is allowed.
The pages should be printed on landscape setting, in color, and on regular (8 ½ by 11 inch) paper. I recommend laminating them.


📋 Sensory Bin FAQs
Sensory bins are a great way for preschoolers to get creative and play. They encourage the use of their imagination and fine motor skills.
You use so many different items for sensory bins. Some examples include: water, rice, pom poms, foam, sand, dried beans, dirt, dried corn, and dried pasta.
You can start taste safe sensory bins very early. Some sensory bins contain small pieces so parental supervision is always required.
Fine motor skills, imagination, and learning through play are some of the skills that sensory bins teach.
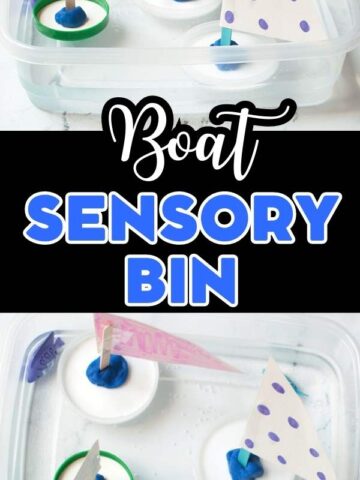
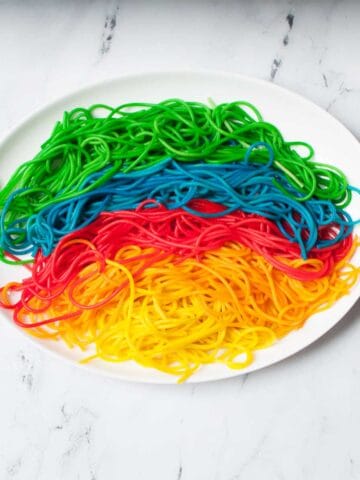
💡 Other fun sensory bin ideas


If you tried this Lemonade Sensory Bin or any other activity or recipe on my site, please let me know how it goes in the 📝 comments below. I would love to hear from you!

Lemonade Sensory Bin
Equipment
- Plastic storage bags such as Ziplock
- wax paper
- Large container or bin
- Scoops
- Toy lemon slices
- Toy ice cubes
Materials
- 5 cups dry rice
- 5 tablespoons rubbing alcohol
- 8 to 10 drops yellow food coloring
Instructions
- Measure out your rice.
- Next, add one tablespoon of rubbing alcohol per cup of rice (I used 5 cups of rice and 5 tablespoons of alcohol). Add the food coloring (I used about 8 drops) and seal the bag. Mix well. I recommend starting with less and then adding more if needed. Too much yellow can end up looking orange.
- Spread out to dry. I used an extra large tupperware container that I lined with wax paper.
- Let the mixture dry for about four hours then it will be good to play with. I usually make mine the night before so it has plenty of time to dry. You can test that it's dry and ready with a paper towel. Once it is dry, it will not stain hands.
- Add scoops, plastic cups, toy lemon slices, and toy ice cubes.
Leave a Reply