
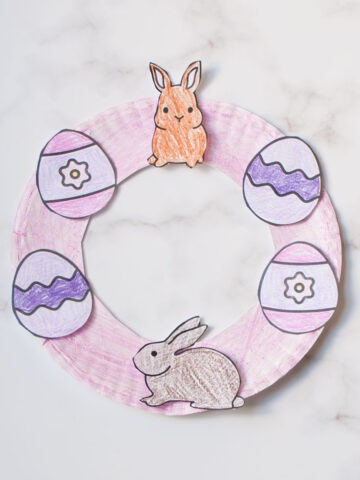
One of my favorite things about spring is seeing all the beautiful flowers start to grow and bloom. This adorable Spring Paper Plate Wreath is the perfect craft to do with kids to celebrate the change in season.

Affiliates Disclaimer: Please note that this post contains affiliate links. I may earn a small commission if you make a purchase or sign up for a service. There is no extra cost to you.
I love sharing fun Paper Plate Craft Ideas with my readers. I recently shared this St Patrick’s Day Paper Plate Wreath and I wanted to make a different version for spring! You can never have too many paper plate craft ideas.

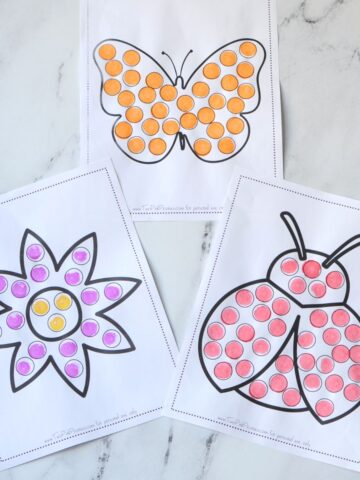
If you need more fun ideas for spring be sure to also check out these Spring Dot Marker Pages and this Spring Alphabet Match!
Jump to:
💭 Why you’ll love this
- Uses basic craft supplies: This craft uses a simple paper plate and basic craft supplies. With kids, you can never have too many paper plate craft ideas.
- Spring: This is an easy spring themed activity idea.
- Ages: This is a great craft for a variety of ages. If you’re doing the craft with toddlers, I recommend cutting out the printable art for them or letting them cut it with safety scissors and leave white white space around it.
- Creativity: Children can add their own creative flair by adding stickers, glitter, or additional drawings to their wreath.
🖍️ Supplies needed

Not much is needed to make this paper plate but here is the supply list and a few notes:
- Paper plate: I recommend using uncoated paper plates, especially if using paint or paint sticks.
- Paint, crayons, markers, or paint sticks: To paint the plate and color the printable art in with.
- Scissors: If doing this craft with toddlers, I recommend cutting the art out for them.
- String or pipe cleaner: This is optional but you can tape string or a pipe cleaner to the back so the wreath can be hung up.
- Glue or a glue stick: To add the art to the wreath.


![Crayola Washable Crayons for Kids - 64ct (2 Boxes), Classroom Must Haves, Teacher School Supplies Essentials, Bulk Crayons for Toddlers [Amazon Exclusive]](https://m.media-amazon.com/images/I/51p2OlX9RvL._SL160_.jpg)


✂️ How to make (step by step guide)

Begin by painting or coloring your paper plate in with a spring color (image 1). I recommend using tempera paint sticks as they are less messy than traditional paints and dry fairly quickly.
Next, cut a hole out from the middle of the paper plate once it is dry (image 2).
Color and cut the printable art out (image 3). Glue it to the plate (image 4). You can tape a piece of string or pipe cleaner to the back if you’d like to hang the wreath up.
⭐ Tips
- For the best results, I recommend using uncoated paper plates. This helps the paint or crayons stick better.
- If using paint, I recommend using tempera paint sticks to paint the plate. They’re a lot less messy than traditional paint.
❤️ Other fun ideas:


🖨️ How to download and print
To download and print the art for the spring paper plate wreath click the black download button below. It will download as a PDF file to print. Print in black and white in portrait setting.
This printable is for personal and single classroom use only. No commercial reproduction of any kind is allowed. Do not link directly to the PDF.
If you tried this Spring Paper Plate Wreath or any other activity, printable, or recipe on my site, please let me know how it goes in the 📝 comments below. I would love to hear from you!
Leave a Reply